A typical web application often needs to talk to an external source to fetch some data. In many common scenarios the external source is a RESTful API. In this post, we will look at the process of making a RESTful API Call from ReactJS Component.
We will also be specifically looking at the appropriate lifecycle method from where we can call an API.
If you are new to React and want to install it, you can check out this post about getting started with React.
1 – The RESTful API
In order to demonstrate API integration with ReactJS, we will using some fake APIs provided by this wonderful site known as JSONPlaceholder.
JSONPlaceholder provides ready-to-use APIs with dummy data. Basically, you can consume these APIs straight away without worrying about authentication and authorization details. You can choose between resources such as /posts, /comments, /todos, /albums, /photos and /users.
There are also relations between these resources. For example, posts have comments. Albums have photos and so on.
However, for this demo, we will only look at the /todos API. This particular end-point returns a list of todos. However, we can fetch a singly todo also just by adding an id value at the end of the end-point.
For example, on hitting the URL https://jsonplaceholder.typicode.com/todos/1, we get the below JSON response.
{
  "userId": 1,
  "id": 1,
  "title": "delectus aut autem",
  "completed": false
}
2 – The React Component
To make things simple and clear, we will be building a very simple component.
Basically, this component will show information about a particular todo. We will fetch the todo information by making an API call from our component.
However, before we make any call, we will simply create a component as below:
import React from 'react';

class MyComponent extends React.Component {

    render() {
        return (
            <div>
                <center><h1>TO-DO INFORMATION</h1></center>
                <hr />
                <h3>Title</h3>
                <h4>ToDo Description</h4>
            </div>
        )
    }
}

export default MyComponent;
There is nothing complicated about the above component. It is a standard React class component.
As we all know any class component must have the render() method that returns a valid JSX. In this case, the JSX contains a bunch of HTML where we trying to display a TODO. However, at this point, there is no data coming from the API Call. We are simply hard-coding the content within the HTML tags.
3 – Creating the Initial State
To render our components effectively using APIs, we need to have some sort of initial state for our ToDo component.
We can define an initial state as below in the constructor() of our component. In the initial state we define two attributes as title and description. Also, we initialize them to blank.
import React from 'react';

class MyComponent extends React.Component {

    constructor(props){
        super(props);
        this.state = {
            title: "",
            description: ""
        }
    }

    render() {
        return (
            <div>
                <center><h1>TO-DO INFORMATION</h1></center>
                <hr />
                <h3>{this.state.title}</h3>
                <h4>{this.state.description}</h4>
            </div>
        )
    }
}

export default MyComponent;
If we render the application now, we will only see blank in the title and description files. Even though we are using the state variables in our JSX, we have not populated any values from our API call.
4 – Placing the RESTful API Call
Now that our component is ready, we can place an API Call.
To do so, we will be using the lifecycle method componentDidMount(). This particular lifecycle method is invoked right after the render method is executed. In a class component, we can use this lifecycle method to perform side-effects such as API calls.
Below is the how the component code looks like now:
import React from 'react';

class MyComponent extends React.Component {

    constructor(props){
        super(props);
        this.state = {
            title: "",
            description: ""
        }
    }

    componentDidMount() {
        fetch('https://jsonplaceholder.typicode.com/todos/2')
            .then(response => response.json())
            .then(json => {
               this.setState({title: json.id, description: json.title})
            })
    }

    render() {
        return (
            <div>
                <center><h1>TO-DO INFORMATION</h1></center>
                <hr />
                <h3>{this.state.title}</h3>
                <h4>{this.state.description}</h4>
            </div>
        )
    }
}

export default MyComponent;
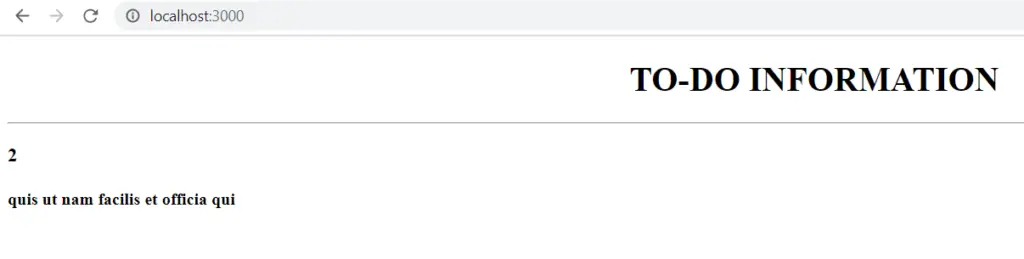
We use the standard Fetch command to issue the API Call. Once we receive the response back from the API, we call the setState() method to update the value of our state variables i.e. title and description.
If you run the application at this point, you would be able to see the data for todo # 2 being shown.
With this, we have seen the basic process of making RESTful API Call from a ReactJS Component. In particular, we also relied on a class component in this example.
Of course, there are many other nuances and approaches to handle API calls with React Components.
We would be looking at more such examples in the coming posts. In case of queries or questions, please feel free to comment in the comments section below.

0 Comments