Create React App is a great tool to quickly bootstrap a new React Project. It is an officially supported way to create React applications.
As a tool, it provides several advantages. However, the primary advantage is its ability to create a new React application with no configuration. In other words, it helps developers start off with React quickly and efficiently.
In this post, we will look at how you can start off with this tool for your own projects.
1 – Pre-Requisites for Create React App
To use Create React App, the first requirement is to have NodeJS installed on your local development machine. With NodeJS, we also need the Node Package Manager more commonly known as NPM.
This is because the Create React App utility is distributed as an NPM package.
To install NodeJS on your machine, you can visit the Official NodeJS website. At the time of writing this, the latest NodeJS version with Long Term Support is 12.14.0. If you are reading this in the future, you can simply download whatever is the latest version at that time.
After downloading, it is pretty straightforward to install the software. Basically, it is a wizard-based process that will walk you through the steps.
NOTE: You can also easily choose the Operating System for which you want to install the software from the website. It is available for Windows, MacOS as well as Linux.
2 – Using the Create React App Package Globally
Once NodeJS and NPM are successfully installed, we can now use the create-react-app package.
One way to use the Create React App package is to install the same globally using npm using the below command.
npm install -g create-react-appThe above command basically installs the package globally on your system. Once the installation is over, we can use the same package to create a new application.
create-react-app my-first-appIt usually takes a few minutes as a bunch of dependencies are downloaded from the npm repository. Once it is complete, you will have a skeleton React application on your system.
3 – Using the Create React App Package via NPX
While the global way of using create-react-app package works perfectly fine. However, that is not the recommended way of bootstrapping a new React application.
The reason for this is simple.
Just like any project on npm, this package also has version upgrades from time to time. If you are building a new React application from scratch, the chances are that you would want to do it with the latest version.
However, the global version you installed on a given date might be outdated down the line unless you have updated it at some point.
To avoid this, we can use npx instead of npm to directly use the package.
With npx, we can simply execute the below command.
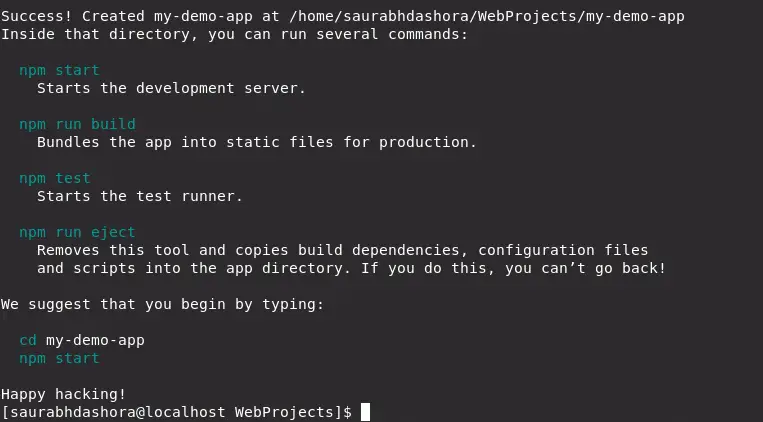
npx create-react-app my-demo-appThis will take some time downloading the various dependencies. After it is done, you should see something like this printed in your command line.

NOTE: If you already have the npm package installed globally on your system, it is recommended that you uninstall the same first using the command npm uninstall -g create-react-app and then use npx. This is to ensure that npx always picks up the latest version of this package.
4 – Starting the React Application
Now that the application is successfully created, we can also start it and see what we got by using this package.
To do so, you can simply CD into the newly created project directory by executing the below command.
cd my-demo-appNext, we can execute the default start script that comes bundled with our basic skeleton app.
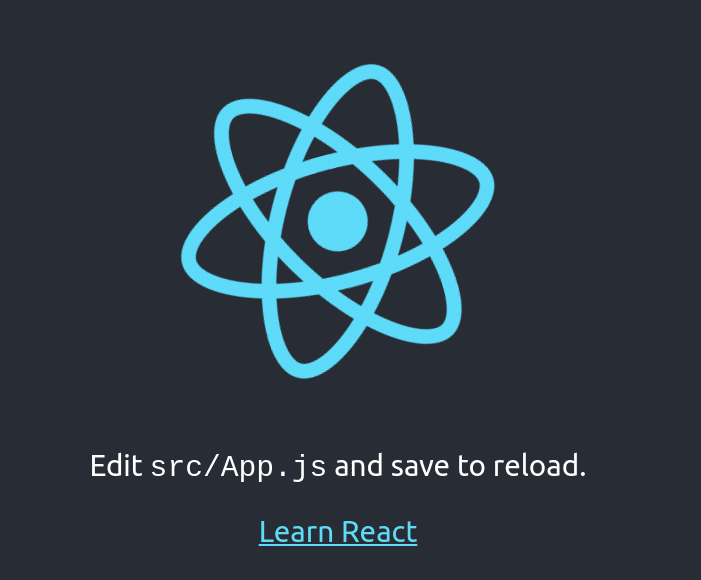
npm startThis will automatically create a development server on your machine and bring up the application on http://localhost:3000.

Conclusion
With this, your brand new React application is ready. You can now start building your super-cool project on top of the skeleton without twiddling with endless configuration files.
You can read more about the official npm package create-react-app on NPM official page.

0 Comments